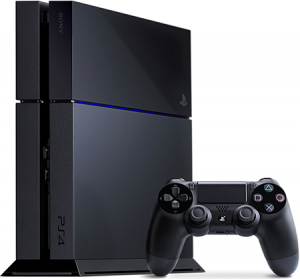
 The PS4 has two methods of connecting to your home router. You can either use an ethernet cable connected from the back of the PS4 to one of the open LAN ports on your router (usually labeled 1, 2, 3 or 4) or connect wirelessly using the PS4 built in wireless adapter.
Wired Connection Setup
- Begin by plugging in an ethernet cable to the rear of the PS4 and connect it to the LAN 1, LAN 2, LAN3 or LAN4 port on your router.
- At the main PS4 menu go to Settings and press X.
- Scroll down to Network and press X.
- Scroll down to Set Up Internet Connection and press X.
- Scroll down to Use a LAN Cable and press X.
- On the following screen scroll down to Easy then press X.
- The following screen will display Checking network environment followed with a screen showing the Internet settings are updated. At the following screen you can choose internet connection test and press X . Once this test is complete you have finished the setup.
Wireless Connection Setup
- Begin by locating your wireless network name and password. This can sometimes be found on the bottom of your wireless router and may be labeled SSID for network name and WPA Key or Wireless Key for password.
- At the main PS4 menu go to Settings and press X.
- Scroll down to Network and press X.
- Scroll down to Set Up Internet Connection and press X.
- Scroll down to Use Wi-Fi and press X.
- On the following screen scroll down to Easy then press X.
- Select your network name from the list and press X.
- Using the controller in your wireless network password and press R2.
- On the following scroll down to Ok and press X.
- The following screen will display Checking network environment followed with a screen showing the Internet settings are updated. At the following screen you can choose internet connection test and press X . Once this test is complete you have finished the setup.

Leave A Comment?